
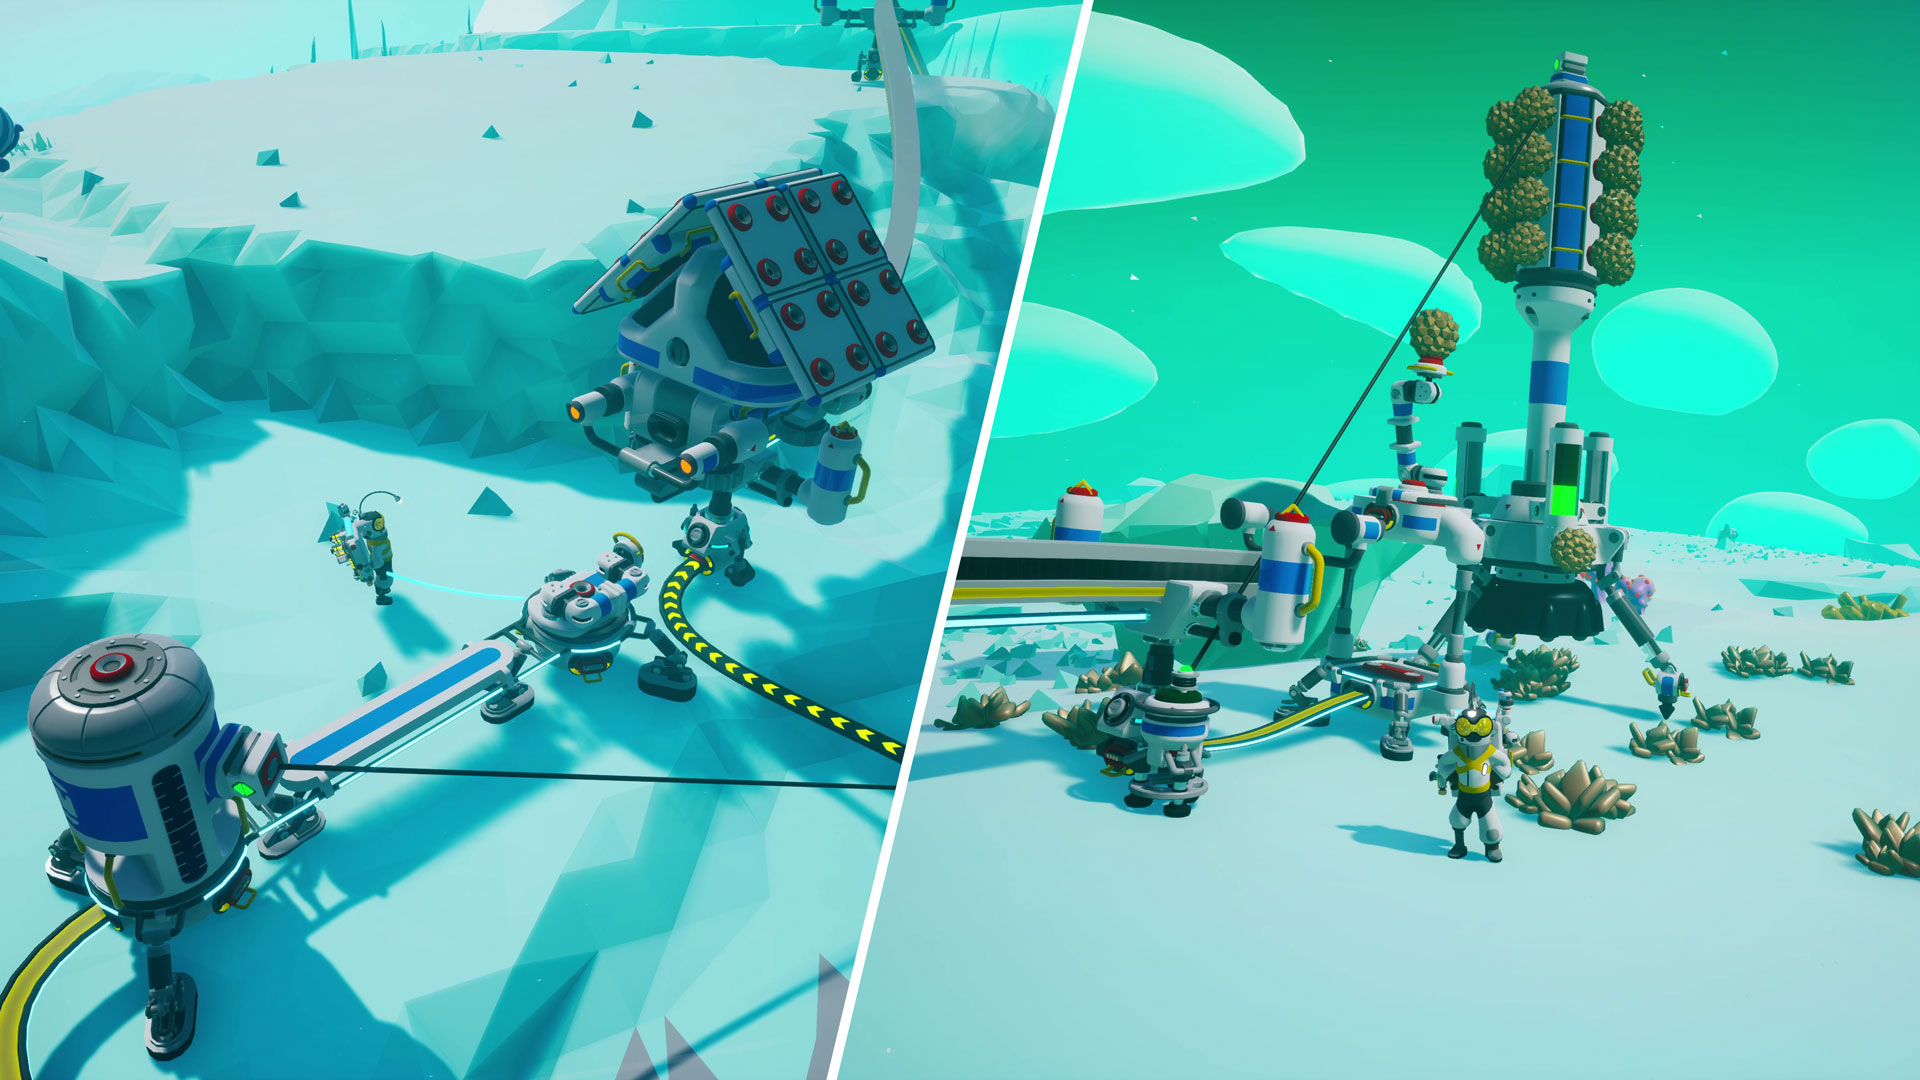
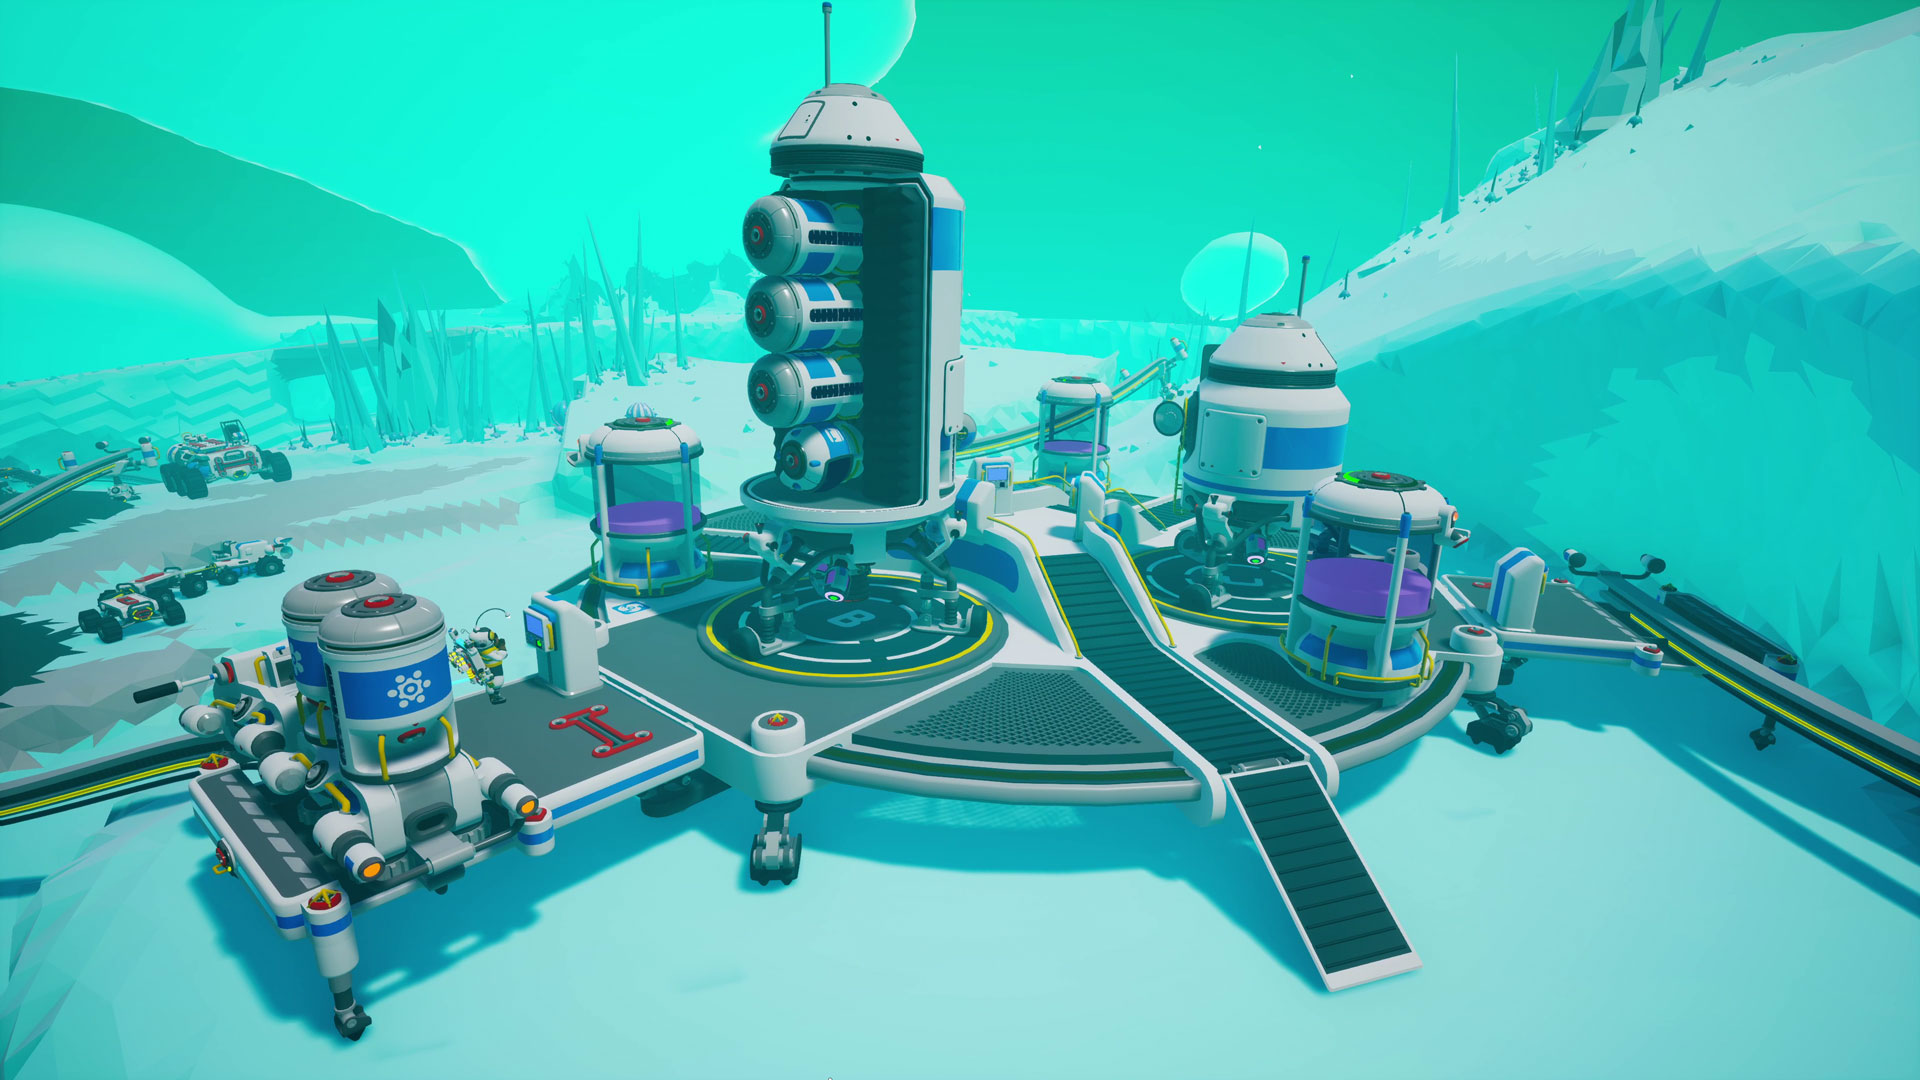
ASTRONEER’s upcoming Megatech DLC and Free Update will be adding some new high-tech options to your base building, especially for those with a love of automation! While it’s true that you don’t need to delve into automation to enjoy the new Megatech content, there’s still a lot of fun to be had in experimenting with the new Megastructures.
To that aim, this guide is meant to serve as a bit of a primer to teach the basics of automation in ASTRONEER, enough to give you a few fun projects to try out for yourself. We’ll also show off some of the ways in which the new Megatech additions can add more convenience to your automation or unlock completely new potential.
Anchor Links:
Automation Tools – Starter Projects – Megatech Automation
Where to start
Before diving into the nitty gritty of automation, there are some general tips to consider that should help you get up and running:
- Experiment in Creative Mode: It can be extra challenging to figure everything out when you need to gather the resources to print everything, so experimenting in creative mode can let you see more easily how everything fits together so you can then bring that knowledge back into your main game. After all, half the fun of automation comes from figuring things out for yourself.
- Review the Research Catalog: Start by familiarizing yourself with every item in the catalog and understanding how it all works. Sometimes you can discover interesting features that you might not have expected, like Platforms moving nuggets and resources around without the need for Auto Arms. Experiment so you can prioritize where to spend your research Bytes.
- The Wiki is your friend: This guide is only meant to help get you started. Looking through the community Wiki can help fill any gaps in your knowledge and reveal more in-depth information.
- Join our Discord: We have some avid automation enthusiasts on our server that love talking shop and could help you with your build. Join here.
- YouTube tutorials galore: We’re fortunate to have content creators on YouTube share a wide variety of tutorials and guides on the topic of automation and much more. Some information might become less relevant as the game receives more updates, but the fundamentals should still hold true. Some good channels include One Last Midnight, Vainglorious Gaming, Kuya Game, and Tactile Object, but there are plenty more out there, so consult whichever channel is your favorite.
What can be automated?
That’s a pretty open-ended question. In terms of production, you can automate the production of any resource in the game, including research and power. But you can also get creative with very specific scenarios, like a thoughtful Auto Arm that packs Hydrazine directly into your Backpack every time you leave your base. At the end of the day, you set your own goals for whatever you think matters most or simply find the most fun.
How does it work?
Let’s start by looking at some of the tools in your toolbox and explaining how each of them works. You might be familiarized already with some of them, while others you might have decided you weren’t going to bother with because they looked too complicated. But, once you start using them, you might find that they weren’t as complicated as you thought.
Auto Arms
This is probably the most iconic bit of tech for automation, and don’t let its compact form fool you; it can extend quite a bit, especially vertically. Place it on any powered platform and it will move resources from one end to the other. Mouse over it to see two colored holographic spheres where green is the input and blue the output. Fun facts:
- You can place a specific item on the open slot in the middle of its base to filter for only moving that kind of item.
- If the Auto Arm can’t find an open slot to place an item in, it will hold said item until a slot within reach opens up, which might include your Backpack.
Platforms
You might not think Platforms play much of a role in automation, but the wide variety of shapes available means some Platform types can be most beneficial to certain arrangements. For example, the Large Extended Platform and XL Extended Platform are the ideal length for an Auto Arm, and Platforms also automate the movement of resources on them, so choose the right one for your needs. Consult the Wiki for reference.
Auto Extractors
Unlocking these is an important milestone to automating your resource extraction and production game. They’re far more efficient at extracting resources than your Terrain Tool, if somewhat slower. You can extend power to one from your base, but many choose to use a local source, since you’ll end up moving them once they exhaust a deposit. Fun facts:
- The Auto Extractor has a slot on top where you can add a Medium Resource Canister, Medium Storage, or Medium Storage Silo to directly store into.
- You can also add a Portable Smelting Furnace to the top so it can directly produce finished metals.
Rail Networks
It’s less useful to automate a resource if you have to run around gathering it all, so Rails help automate this part too, they’ll even help with power and oxygen distribution. You can equip Rail Cars with storage and set them up to be loaded/unloaded by Auto Arms, using Storage Sensors to automatically transport goods between Auto Extractors and your base. Keep reading for details on a Starter Project.
Sensors & Repeaters
If you’ve been opting out of automation, then these might be a set of items you’ve never used before. These are what will allow you to customize the behavior of your automation, versatile enough to allow for the creation of some elaborate contraptions, like a music player, or even a crazy display capable of doing math for you! But let’s think small for now.
Sensors: Place them down by themselves or directly on to the item you want to be sensing, then extend the Pin from the top and place it on the item you want the Sensor to activate when its condition has been met. You can also extend additional Pins from the first Pin, but only the ones at the end of the wire will activate items.
- Storage Sensors: Useful for resource management, like keeping your supply of Resin topped up but deactivate your Auto Extractors once your storage is full to save up on power. Cycle through its Modes to activate when its attached storage is either “Full or Empty”, “Empty or Not Empty”, or “Full or Not Full”.
- Power Sensors: Useful for keeping your power flowing when your renewable sources run out, like shifting from Solar Panels at night over to your Generators. Cycle through its Modes to activate when it “Gains Power Flow”, “Loses Power Flow”, or every time it either “Gains or Loses Power”.
- Battery Sensors: Useful for keeping your Battery supply charged up, like activating your Generators only once your Batteries are all drained to save up on Carbon. Cycle through its Modes to activate when its attached battery “Gains or Loses Charge”, is “Empty or Not Empty,” or it’s “Charged or Not Charged”.
- Motion Sensors: These work a little differently, as you don’t place one on anything you want to sense. Instead, it will activate whenever anything passes through it. You can directly slot small items on to some of them like Horns to announce when a buddy returns to base or extend Pins to anything else you want one to activate.
Repeaters: Unlike most Sensors, you don’t place Repeaters directly on to other items; you either place them down by themselves or on a small slot, but you can also stack them for combined effects. Alternatively, attach small slot items you want to activate directly to the top of them. They also have Pins that work the same way as they do for Sensors.
- Proximity Repeater: When one of these is activated, it will in turn activate everything within a small radius, which you can see as a green holographic circle when you mouse over it. It can be useful when you want to activate multiple nearby things at the same time, and it can even collect research items in its proximity.
- Button Repeater: This is pretty straightforward. It’s a simple button that will activate anything you connect it to via its Pins. This is the best Repeater to combine with any of the other Repeaters in order to combine their effects, particularly the Delay Repeater and the Count Repeater.
- Delay Repeater: These don’t activate anything by themselves but instead create a delay between receiving a signal and sending one out. It can be useful, for example, for activating an Auto Arm to collect an Organic nugget from a Tapper that’s finished producing a full nugget, so the Auto Arm isn’t spending power the whole time.
- Count Repeater: Like the Delay Repeater, it doesn’t activate anything by itself. It can send out a signal only after a set amount of input signals have been received. For example, a Solid Fuel Thruster can make 2 interplanetary round trips. A Sensor Ring with a Count Repeater could print a new Thruster only when needed.
Power Switches, Extenders, and Splitters
Your power production is certainly something you can automate, but fiddling with the direction of your power flow can also help ensure your usage of power stays efficient. You can cut power to entire sections of your base that currently aren’t needed, like in the case of resource production setups when you run out of storage.
- Power Switches: These are simple On/Off Switches that can either let power pass through or get cut off. If you ensure power flows into an automation set up from a single point, then a Switch will allow you to easily shut it all down. They can also act as transistors for complex logic gate set ups, but that’s advanced stuff.
- Power Extenders: Not only do they carry power and oxygen, but they also have the interesting property of being able to set what direction you want power to flow in. This can be useful for automated backup Generator set ups, ensuring a Power Sensor only turns it on when it runs out of power coming from the base.
- Splitters: These allow you to divert the flow of power down separate circuits. For example, assuming you only have enough power to keep automation for one resource running at any given time, a Splitter could allow you to quickly divert power from one set up to the other or even deactivate them entirely to free up power.
Starter Projects
Theory is all well and good, but there’s nothing like a little hands-on demonstration. Below you’ll find a few project ideas to get you started, ordered from simplest to most advanced. Bear in mind that these are just examples, and there are countless different arrangements you could use to achieve the same results. Feel free to experiment. Give them a try and tag us on social media if you share your results!
Carbon Power Farms
Carbon farms and Generators can help keep your base powered even when renewable power slows down. Follow these steps for your own basic set-up and expand as needed.
What you’ll need:
- A few tappable plants planted close together in a small area.
- At least one Tapper per plant (the more per plant, the slower).
- 1x Auto Arm
- 1x Storage Sensor
- 1x Medium Storage
- 1x Medium Platform A
- 1x Large Platform B
- 1x Smelting Furnace
- 1x Medium Generator
Build Steps:
- Find a nice flat space near your base and plant your tappable plants close to each other. Mouse over the Auto Arm to see the size of the green holographic sphere; this is how close you want these plants. The Plumefir trees in Sylva will work nicely.
- Wait for the plants to have fully grown then attach a Tapper to each of them, making sure they stay within the Auto Arm’s green sphere area. Make sure to activate each Tapper so they are producing Organic.
- Place a Medium Platform A with an Auto Arm on it so that all Tappers fit within the green sphere hologram.
- Place a Large Platform B with one end inside the blue sphere hologram of the Auto Arm. Slot the Medium Storage to this end of the Large Platform, the Smelting Furnace in the middle, and the Medium Generator on the opposite end.
- Place the Storage Sensor on the Medium Storage, set it to “Full or Not Full”, and extend its Pin to the Auto Arm.
- Connect the power cable from the Medium Platform A to the Large Platform B and then your power network into the Large Platform B, so it has enough power to get started. Make sure the Smelting Furnace, Medium Generator, and Tappers are on.
Expansion Ideas:
- You could be charging up a Battery with the power you’re generating and set it up so it only activates the Generator when the Batteries are empty. Try connecting a Medium Battery to the Generator’s Platform and placing a Battery Sensor on the Battery with the Pin attached to the Generator.
- The Smelting Furnace is consuming some of the power the Medium Generator is producing, so using a bigger Platform like the Extra Large Platform C would free up room for an additional Medium Generator and even more Medium Storages to gather up some of the Carbon being produced.
- You could be storing some of the Carbon you’re not burning. Placing everything on a bigger Platform could free up room for Storage to gather Carbon, stored by an Auto Arm into a nearby Resource Canister when there’s more than the Generator needs. A Storage Sensor could activate only when the Carbon Storage is full.
Automated Resource Relay
One of the greatest conveniences of automation is letting resources come to you. Get started on your own network of railways connecting your base to your Auto Extractors.
What you’ll need:
- 1x Auto Extractor
- 2x Auto Arms
- 1x Medium Stacked Platform
- 1x Large Extended Platform
- 1x Medium Storage Silo
- 1x Medium Resource Canister
- 1x Rail Car
- 1x Large Storage
- 4x Medium Storage
- 2x Storage Sensor
- 1x Proximity Repeater
- 1x Power Switch
- As many Rail Posts as you need to connect the Auto Extractor to your base.
Build Steps:
- Place the Auto Extractor on the resource you want to gather. When activated, notice the green bars displaying how much of said resource is left in this deposit.
- Attach a Storage Sensor set to “Full or Empty” to the Medium Storage Silo and slot it to the top of the Auto Extractor’s thumper.
- Slot the Auto Arm to the top of the Medium Stacked Platform and move the Platform until the green sphere hologram is on the center of the Auto Extractor. The Auto Arm can extend vertically a fair bit, so don’t worry if it’s not tall enough.
- Place a Rail Post on the inner edge of the Auto Arm’s blue sphere hologram so that it’s almost touching the Medium Stacked Platform. Place down the Proximity Repeater right next to this Rail Post and extend the Pin from the Storage Sensor on the Silo to connect to the side of the Repeater. Make sure the Stacked Platform is outside of the reach of the Proximity Repeater. After this, keep placing down more Rail Posts until you connect them all the way to your base.
- At your base, place the other Auto Arm on the Large Extended Platform with the green input end on the outside of the Platform. Move the Platform until the green sphere hologram covers the end of the railway, then place the Medium Resource Canister on the other end of the Platform.
- Place down the Power Switch next to the end of the railway and connect its power cable to it. When you connect the railway to your base’s power network, make sure to connect it through this Switch. Attach the other Storage Sensor to the nearby Medium Resource Canister meant to hold the resource you’re collecting, set it to “Full or Empty”, and extend its Pin to attach it to the side of the Power Switch.
- Slot the Large Storage on the Rail Car and slot the four Medium Storages on top of that. Extend them for a nicer look. Now place the Rail Car on the rails.
- Connect all mentioned Platforms to the nearest other Platform and the Rail Posts at either end so you can run power from your base all the way to the Auto Extractor. Make sure everything is powered up and the Auto Extractor is activated.
Expansion Ideas:
- Using Rail Stations at either end of the railway can cancel out the need for Auto Arms or Sensors. You can use the control panel to set the Station by the Auto Extractor to disable Stop Mode and enable Loading Stopped Cars, while the other end can be set to disable Stop Mode and enable Unloading Stopped Cars.
- You can add more stops along the railway to gather more resources from other deposits being harvested by Auto Extractors. Adding an extra Rail Car with the same Storages and using resource filters on the loading Auto Arm could help if it’s a different resource, placed so it can only reach the second Rail Car while stopped.
Hydrazine Farms
You’ll always be in need of Hydrazine for all of your flying needs, and if you already set up an automated Ammonium relay like in the previous project, then all you need is Hydrogen and a Chemistry Lab to automate your Hydrazine. Try starting with this setup.
What you’ll need:
- An automated Ammonium relay, as detailed in the previous project.
- 3x Large Platform A
- 1x Large Platform B
- 1x Large Extended Platform
- 3x Auto Arms
- 1x Atmospheric Condenser
- 1x Chemistry Lab
- 1x Medium Fluid & Soil Canister
- 2x Medium Gas Canister
- 1x Storage Sensor
Build Steps:
- Place the Large Platform B next to the Ammonium Canister with one of its side “wings” placed closest to it. Then, slot the Atmospheric Condenser into the middle and two Medium Gas Canisters at either end. Set the Condenser to produce Hydrogen with the Continuous Mode button.
- Slot two Auto Arms on to a Large Platform A oriented in the same direction, with the green sphere holograms on one end and blue on the other. Place the Platform in such a way that each Arm’s green input end can reach the Hydrogen Canister and the Ammonium Canister, respectively. Use the Auto Arm filters if needed.
- Slot the Chemistry Lab on to a Large Platform A and move the Platform so that it’s within reach of the blue sphere holograms of the Auto Arm pair from the previous step. Set the Lab to produce Hydrazine with the Continuous Mode button.
- Slot the last Auto Arm on to one end of the Large Extended Platform, with the green sphere hologram aimed outwards, and place the Medium Fluid & Soil Canister for Hydrazine at the other end. Place the Platform so that the green end of the Auto Arm can reach the Chemistry Lab.
- Attach a Storage Sensor to the Hydrazine Canister and extend the Pin to the Chemistry Lab, set to “Full or Not Full”. Connect the power cables between all Platforms with their nearest neighbors and make sure everything is powered up. Make sure the Auto Arms are also activated.
Expansion Ideas:
- A single Medium Fluid & Soil Canister to hold your Hydrazine might fall short soon enough. Consider grouping up a bunch of them on a bigger Platform. Or maybe keep an eye out for the Large Fluid & Soil Canister coming with Megatech. 😉
- Replicating this same setup will allow for more Hydrazine to be produced simultaneously instead of being limited to the speed of a single Chemistry Lab.
Megatech Automation
Congratulations on dipping your toes into the wonders of Astroneer automation! Or if you’re already a veteran then that might all have seemed like a spacewalk in the space park (Sure, that’s a thing people say). So where does Megatech come into all this? Does big automation have room for huge Megastructures? You betcha!
Intermodal Terminal
Automate your Shuttle launches to be loaded up with local resources and be shipped to planets that don’t have said resources available. Trying to automate something like Nanocarbon Alloy can be quite an undertaking, with resources limited to a variety of planets. Outside of going to Aeoluz, you’d have to be making a lot of trips, but the Intermodal Terminal can automate the process of gathering everything in a single place.
Orbital Platform
While being a huge build space with plenty of conveniences, there’s one fun aspect that Soil farmers might be especially excited about. Outside of the creative options it allows for, the MEGA-Mini Asteroid is also an infinitely renewable source of purely soil. There’s no need to worry about the mess of burrow tunnels left behind, as you can simply regenerate the Asteroid whenever you like at no cost and choose which available shape you want it in.
Biodome
We’ve seen some massive Organic farms being created by the community, but they tend to have a lot of moving parts. That’s part of the fun, but the Biodome is designed to be a much more convenient way of achieving similar results, automating the production of Organic nuggets as well as Seeds that can go into either planting more plants or feeding into the Museum’s Donation Stations, all in one place.
Museum
Speaking of Donation Stations, masters of automation tend to have plenty of resources lying around, and the Museum opens up an avenue for those resources to go into unlocking useful rewards and new perks. Plus, filling up the holographic displays of all Donation Stations is worthy of the ultimate bragging rights.
New Large Canisters
Building all of these new Megastructures is going to take a lot of resources, which is one good reason to add in new Large Gas Canisters as well as Large Soil & Fluid Canisters, coming with the Megatech Free Update. Both will slot into Tier 3 Large slots.
- The Large Gas Canister will cost 1x Silicone, 1x Glass and 1x Titanium Alloy to print and holds 4 times as much as a Medium Canister.
- The Large Soil & Fluid Canister will cost 1x Plastic, 1x Glass and 1x Titanium Alloy to print and holds 3 times as much as a Medium Canister.
EXO Chips Storage: As some eagle-eyed commenters have already pointed out in our latest trailer, the Megatech Free Update will also add the new functionality of being able to store EXO Chips in Resource Canisters for a much tidier storage solution.

We hope this has been an insightful look into automation and the huge additions coming with Megatech. Up next, we’ll be sharing more details on what it takes to unlock and build most of this new content. Stay tuned!
Wishlist
ASTRONEER: Megatech Now!
STEAM – XBOX
Download the ASTRONEER: Megatech wallpaper:
Landscape (1920×1080) – Landscape 4K (3820×2160) – Portrait (1080×1920)
FAQ
What’s the release date for ASTRONEER: Megatech?
- November 20th, 2025. The Nintendo Switch release will come at a later time. We’ll share more as soon as we can.
How much will the ASTRONEER: Megatech DLC cost?
- $9.99 USD. It might vary slightly per currency.
Will existing game save files be compatible with the Megatech DLC?
- Yes.
Will any free content be released with the Megatech DLC?
- Yes. A free content update will be released alongside the paid DLC.
How far into the game should I progress before starting the Megatech DLC?
- You can access the Megatech DLC as soon as you start a new game. That said, the majority of this new content will be locked behind a fair bit of the tech tree and some missions, both old and new.


More Astroneer Content in These Places